Preparing Your Soft Flexible Rubber Tubing
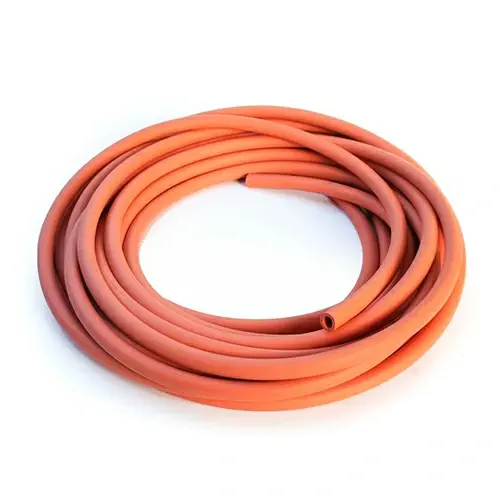
First, measure tubing carefully. Cut it straight with sharp tools. Deburr edges for smooth fit. Soft flexible rubber tubing works best when clean.
Check fitting size matches tubing. Confirm materials are compatible. Gather all needed tools beforehand. This prevents installation issues.
Step-by-Step Fitting Installation
Slide nut onto tubing first. Then add ferrule (compression ring). Insert tube fully into fitting body. Hand-tighten nut initially.
Use two wrenches for final tightening. Hold fitting body steady. Turn nut about 1.5 turns more. Don't overtighten rubber tubing.
Proper Tightening Techniques
Tighten in gradual stages. Check for leaks after each turn. Soft materials need gentle pressure. Rubber compresses differently than plastic.
Look for uniform compression. The ferrule should grip evenly. No gaps should remain visible.
Testing Your Connection
Pressurize system slowly. Inspect for drips or bubbles. Listen for hissing sounds. Mark any leaks with tape.
If leaking occurs:
-
Release pressure first
-
Loosen fitting slightly
-
Retighten carefully
-
Test again
Maintenance Tips for Longevity
Check fittings periodically. Look for cracks or wear. Replace damaged parts immediately. Keep rubber tubing clean.
Avoid extreme bends near fittings. Support long tubing runs properly. This prevents stress failures.
Proper installation ensures reliability. Take time to do it right. Your system will last longer.
Comments on “How to install compression fittings on tubing?”